Are you tired of typing on a keyboard that looks like it’s been through a war zone? Well, fear not, fellas, because today we are going to learn how to give your keyboard a much-needed spa day. But before we get down to business, let’s be real here, who actually enjoys cleaning?
It’s like going to the dentist, no one looks forward to it, but it’s necessary. So, let’s make the best of it. Think of it as a chance to finally say goodbye to that pesky crumb that’s been hiding in between the keys for the past month (or year, no judgment here).
How to Clean a Keyboard Mac Step 1: Gather Your Supplies
First, let’s discuss the tools you will need. Having the right tools on hand is important to ensure a thorough cleaning. Here are a few items that you should gather before getting started:
- Damp Cloth. An effective and gentle tool to wipe away dirt and debris from your keyboard.
- Compressed Air. Great for blowing away dust and debris accumulating in the hard-to-reach spaces between the keys.
- Toothbrush. For getting into tight spaces and corners.
- Isopropyl Alcohol. Effective at breaking down grime, oils, and germs.
- Keycap Puller. Must have to pull individual keys for cleaning underneath them.
With these tools, you will be well-equipped to clean even the dirtiest keyboards.
How to Clean a Keyboard Mac Step 2: Removing Dirt and Crumbs
This is an important step, especially for those who enjoy snacking at their desk or has pets that like to shed all over your keyboard. Before you start scrubbing away, it’s important to unplug your keyboard and ensure it’s turned off to prevent accidental typos or shutdowns.
Now, gently remove the crumbs and debris between the keys using the toothbrush. This is where all the magic happens. It’s amazing how much gunk can accumulate in such a small space.
If you are feeling a bit annoyed, you can even use a can of compressed air to blast away all the stubborn crumbs.
How to Clean a Keyboard Mac Step 3: Cleaning with a Damp Cloth
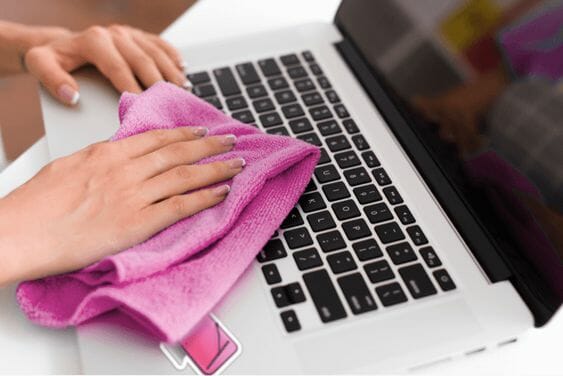
Take the damp cloth and a drop or two of water on it. Now, gently wipe down the keys and pay extra attention to dirty or sticky ones. Be careful not to use too much water as it can damage the internal electrical components.
If you are feeling a little fancy, you can even use a toothpick to clean out the grooves of the keys.
How to Clean a Keyboard Mac Step 4: Disinfecting with Isopropyl Alcohol
Once you clean the keys, it’s time to tackle the keyboard’s base and disinfect the keys. Use the keycap puller and remove all the keys. Remember to take a keyboard picture before removing all the keys. Take a damp cloth and wipe down the base to remove dust or pet hair.
If you are dealing with a keyboard that hasn’t been cleaned since ancient times, you may need to wipe it down a few times before it’s all shiny and new.
After this, put a few drops of isopropyl alcohol on the damp cloth and disinfect the keyboard, including the keys.
How to Clean a Keyboard Mac Step 5: Reassembling the keyboard
After disinfecting the keyboard, all that’s left is to reassemble it and see if it’s working properly. Put the keys back in their right place according to the picture you took.
After that, plug the keyboard back in and see if all the keys are working properly. And to avoid having to clean your keyboard again too soon, you can use a keyboard cover to protect your keys from dust and spills.
Conclusion:
Cleaning your mac keyboard may not be the most exciting task, but it’s necessary. By cleaning your keyboard you can keep it functioning properly and clean. So, don’t be a slob and give your keyboard the cleaning it deserves.
Don’t forget to check “5 Best Keyboard For Long Nails”

